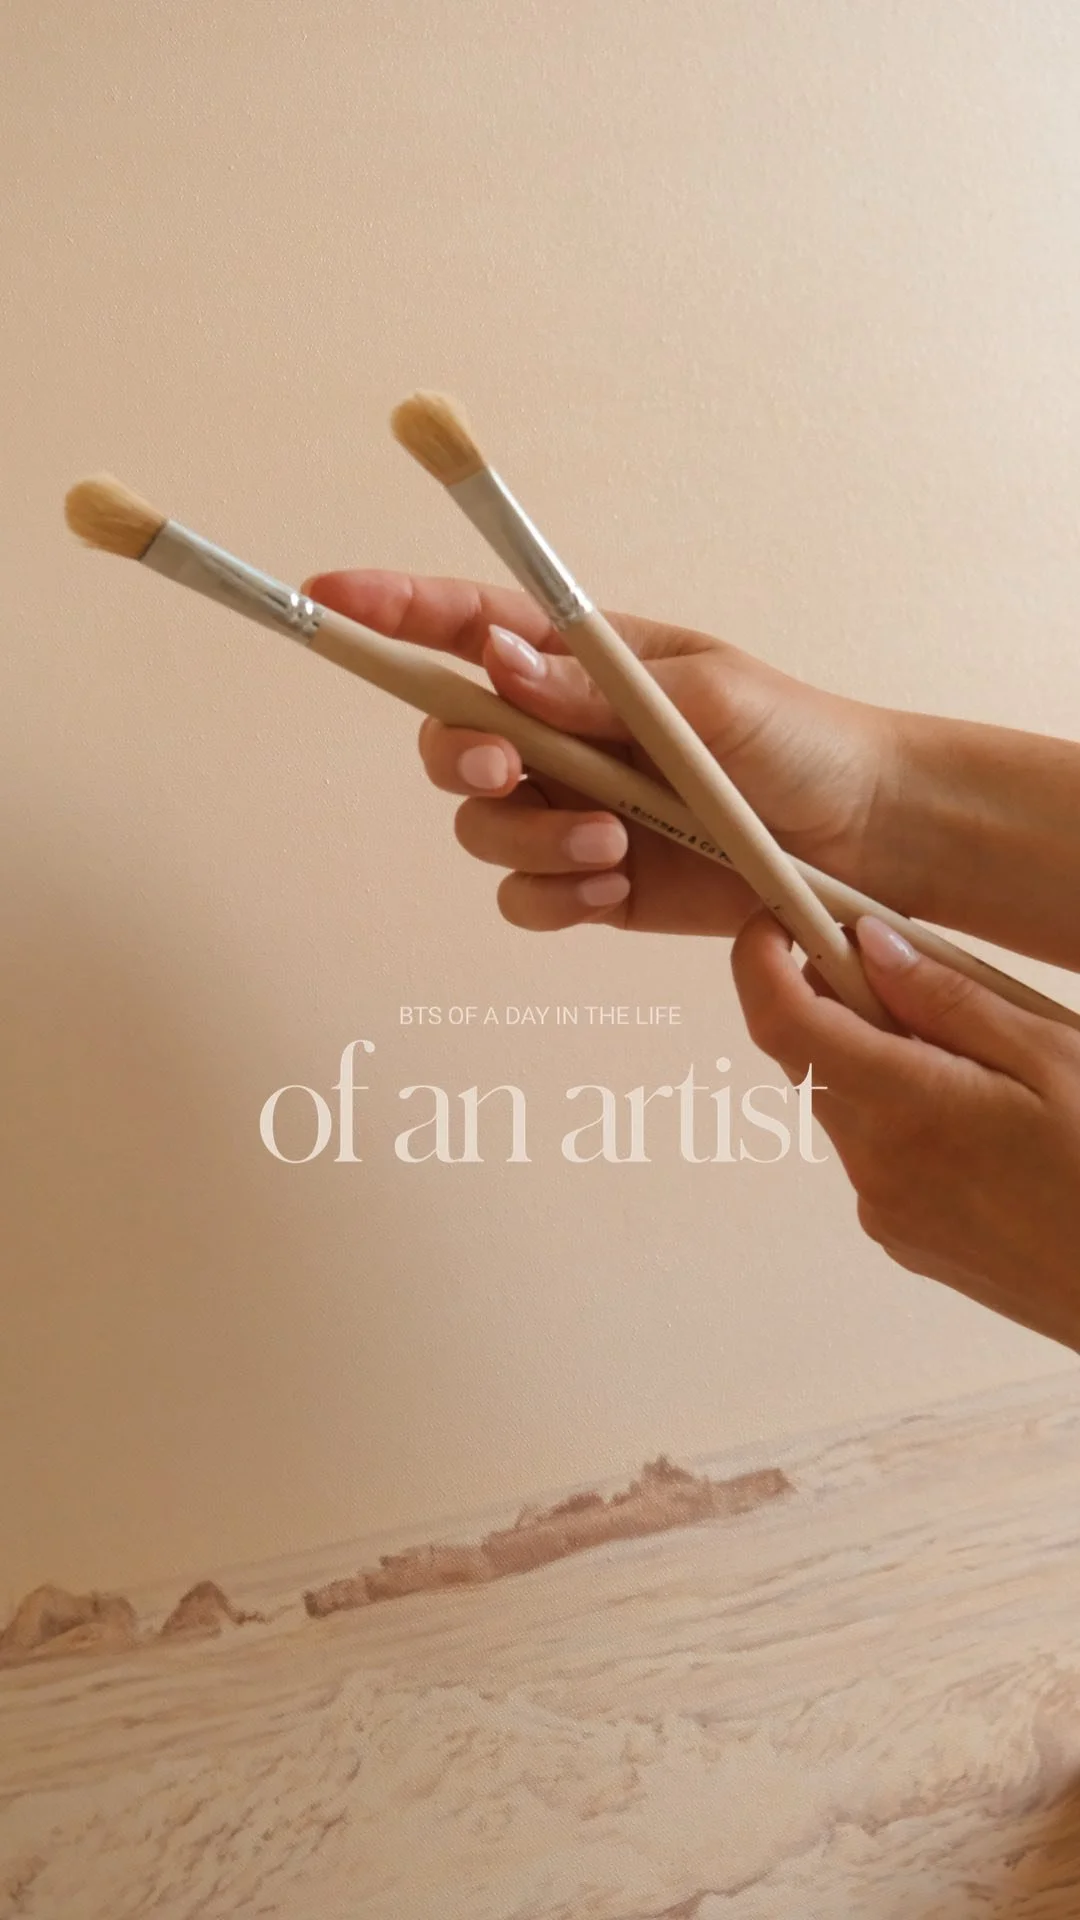
How to Stretch Your Own Canvas Prints
DIY Art Framing Guide

One of the most common questions I get at art shows and in my inbox is: How do I stretch and frame my own canvas prints? If you've been wondering the same thing, you're in the right place.
Today, I'm sharing a simple, beginner-friendly guide to help you stretch your own canvas prints at home, no special skills required, just clean hands, a little focus, and patience.
Gather The Materials Needed for Canvas Stretching
Materials for Canvas Stretching:
A beautiful canvas print with a white border (There are over 40 prints available through my shop - make sure an additional white border is added so your print can be stretched.)
Wooden stretcher bars - I recommend gallery depth (1.5”)
A quality staple gun and extra staples
A staple lifter
A hammer - for assembling stretcher bars
A measuring tape or ruler
A pencil for making measurements
Canvas Pliers (OPTIONAL) - I find they help get a more even stretch; regular pliers will work fine in a pinch.
Hanging Materials:
Electric Drill or Screwdriver
D-rings and/or Hanging Wire
Floater Frame (OPTIONAL)
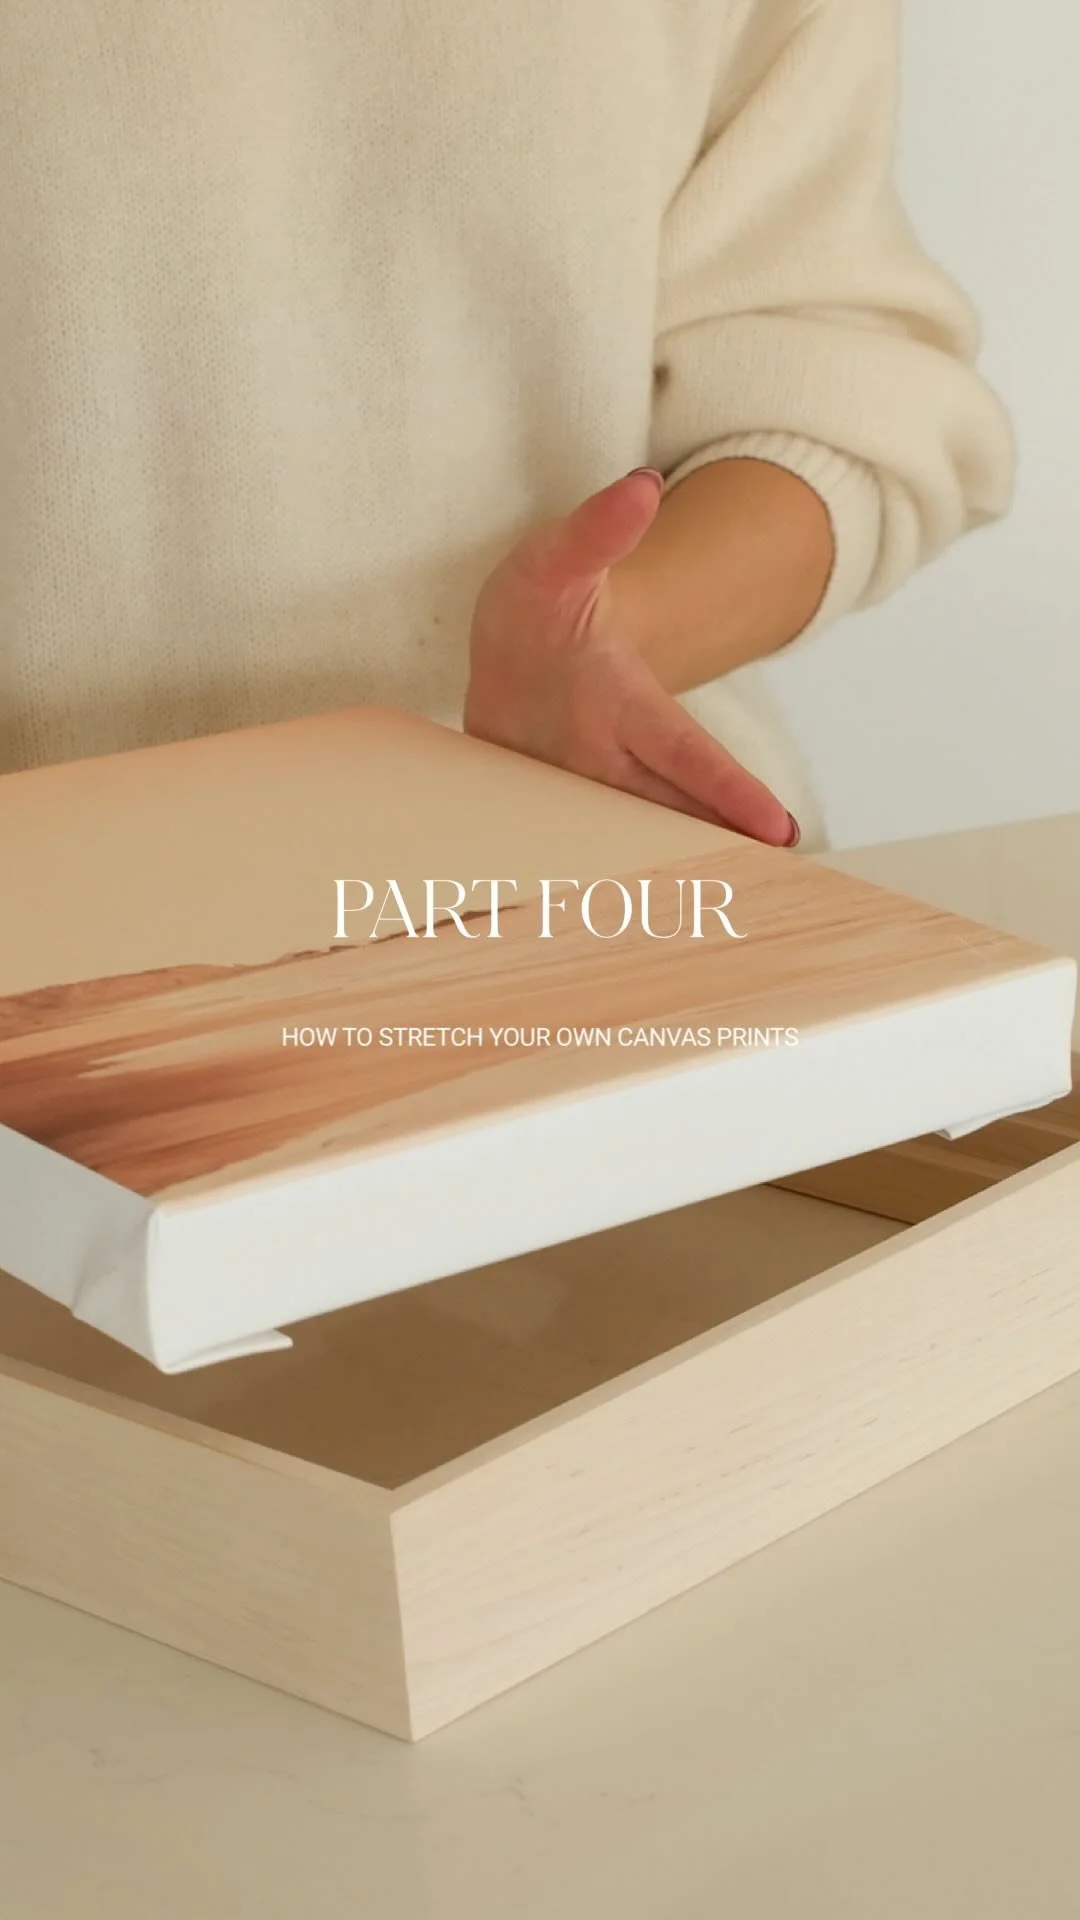
How to Stretch Your Canvas print Step-by-Step:
Step 1: Prepare Your Space
Take all of your materials and lay them out on a clean, flat surface. It’s important to have a clean space and a smooth working area so there’s no risk of damaging the print.

Step 2: Build Your stretcher bars
Assemble your stretcher bars, gently tapping the joints into place with the hammer as needed. For larger print sizes (if any dimension of your print is 24” or larger), you will need cross braces for extra support.

Step 3: Take Measurements
Take your ruler and check the measurements of the white border on each side of your print. Gently place your print face down and lightly mark the border measurements. (I usually mark each corner and side.)
Take your time; precision matters at this step.

Step 4: Align Your Print
Take your stretcher bars and place them with the front side facing the back of your print. Use the marked measurements you just made to guide you in making sure the frame is sitting in the right place.

Step 5: Stretch Your Canvas PRINT
It is finally time to begin stretching. Start by working with two parallel sides at a time. Carefully pull the canvas tightly around the stretcher bars and secure it with one staple on each side. Take a minute to check that the front of the artwork is aligned before you continue.

If the image looks aligned, continue stapling, working up towards the corners and alternating sides to keep the tension balanced and ensure an even stretch. Once you’re about 2-3 inches from the corners, stop stapling (we will fold and stretch those later).

Do the same thing with the remaining two parallel sides.


If you need to remove a staple and try again, that’s ok, just be gentle with the canvas (and yourself).
Artist Tip:
Canvas pliers make a huge difference for even stretching and for saving your hands. Regular pliers will also do the trick if that’s all you have.
Step 6: Folding the Corners
This part can be a bit tricky until you get the hang of it, so take your time and try again if they look messy. Tuck all excess canvas into the edge and then fold the other side around it. The key here is to get a clean fold. When it looks good, pull it tightly (pliers help, but aren’t necessary), and then staple it into place.
Repeat this process with each of the remaining corners until they are all secure.

Step 7: Hanging Hardware & Framing OPTIONS
Congratulations, you did it!
After your canvas is stretched, the final step is to decide if and how you want to frame your piece and prepare it for hanging.
For hanging hardware, I suggest using a wire for prints up to 24 inches wide. For larger pieces, D-rings are a better choice because they offer extra support and security without risking damage to your frame over time. You can attach the hardware immediately after stretching or wait until you add a frame, whichever fits your process best.

If you want to elevate your artwork further, consider adding a floating frame. Floater frames add a beautiful sense of depth and make your art print feel even more original. Personally, I love using solid maple for my floater frames because its natural tone complements the color palette in my artwork. Feel free to pick any wood or material that suits your taste and complements the artwork you are framing.

Whether you hang your canvas as-is or frame it, just make sure your hardware is sturdy and secure so your art can be enjoyed safely for years to come.

FAQ: Common Mistakes & How to Fix Them
Here’s how to address some common problems you might experience while framing your own canvas prints:
-
Remove a few staples near the slack, gently pull the canvas tight from the center outward on opposite sides, and restaple. Check the corners if you need extra tightening.
-
This usually means tension wasn't balanced evenly. Re-staple from the center toward the corners, alternating sides to keep things smooth. Canvas pliers really help here.
-
Stop stapling about 2-3 inches before each corner. Take your time folding the canvas cleanly and avoid stapling directly over the corner joint for a neat finish.
-
Check that your frame is centered and the diagonals match. Loosen a few staples, realign the canvas carefully, and restaple starting from the center.
-
Angle your staples slightly and tap them gently with a hammer. If tearing happens, lighten your pull and space staples closer together.
-
Flip your canvas and tap the back—it should sound crisp and drum-tight. If it sounds dull or loose, add more tension by re-stapling from the center out.
-
If wrinkles, sagging, or messy corners won't smooth out after a couple of tries, it's okay to remove the staples and start fresh. Even pros do this sometimes.
Remember: Mistakes are part of the process. Be gentle with your canvas—and with yourself.
Prefer to Leave It to the Professionals?
If stretching your own canvas feels overwhelming or you'd simply rather skip the DIY and enjoy ready-to-hang art, I have a few alternative options for you.
WORK WITH a LOCAL FRAMER
If you are like me and would rather leave framing in the hands of a professional, I recommend reaching out to a local framer in your area for your framing needs. Going to a local framer is an amazing way to support your community, but it also ensures quality and saves on shipping/transportation costs.
If you’re looking for stretching services, first confirm they offer canvas stretching and provide your print size. Certain framers may have limitations on the services they offer, so it is important to reach out first to confirm.
Here are a few considerations when finding a local framer
Reputation and quality (Not all framers are the same - look at their reviews online or ask friends for referrals)
Range of services (make sure they offer the service you are looking for and work with the materials)
Visit in person (this is the huge benefit of working locally - go to the shop and see the materials and quality for yourself)
When in doubt, it’s always better to reach out. Have a list of questions and contact the framer directly.
Artist tip: I personally use ArtEast in London, Ontario for stretching services.
If the hassle of finding a framer sounds too overwhelming, I have a special offer this November:
My Exclusive November Offer: READY-TO-HANG FRAMED PRINTS

“Inhale” 12×12 Inch Framed Canvas Print
This November, I'm offering a limited-time opportunity to purchase professionally stretched and framed canvas prints, delivered ready to hang. The response to this opportunity last year was incredible, and I'm excited to bring this back just in time for the holidays.
This is a rare chance to bring gallery-quality, ready-to-hang art into your home without the hassle.
Here's what makes it special:
Pre Order Window (Nov 1–12): Order early for the biggest savings and guaranteed shipment before December. November 1st offers up to 25% off stretching and framing, with 15% off continuing through November 12.
Art Insiders Get Even More: Subscribers receive an exclusive 20% off prints all month, stackable with stretch and frame discounts for incredible savings.
Join the Art Insiders list now to unlock your exclusive discount code, get early access to special releases, and maximize your savings for the holidays.
I hope this framing guide was inspiring and insightful. Whichever framing option you choose, I would love to see your beautiful creations. Feel free to share your work by leaving a comment, sending me an email, or tagging me on social media.
With Love,
Kristi